Getting Started
SnapFS has three main pieces:
- the gateway: receives events, stores queryable history, and serves the API
- the scanner agent: walks a filesystem root and emits scan events
- the console: lets you explore scans, activity, duplicates, and current-state summaries
For most beta users, the first goal is simple:
- connect a scanner agent
- create a schedule
- run an initial scan on a small root
- confirm the results in the console
- expand scope gradually
What A Healthy First Setup Looks Like
After setup, you should be able to:
- see your scanner under
Agents - create a schedule for a root or subpath
- run a scan and watch it appear under
Jobs - compare a later scan against a previous one
- use
Overview,Explore, andActivityto validate that the results make sense
Recommended First Root
For your first test, prefer a small, familiar path:
- a home directory subfolder
- a project workspace
- a small shared folder
Avoid scanning a very large namespace first. Use the first scan to validate behavior before scaling up.
Console Overview
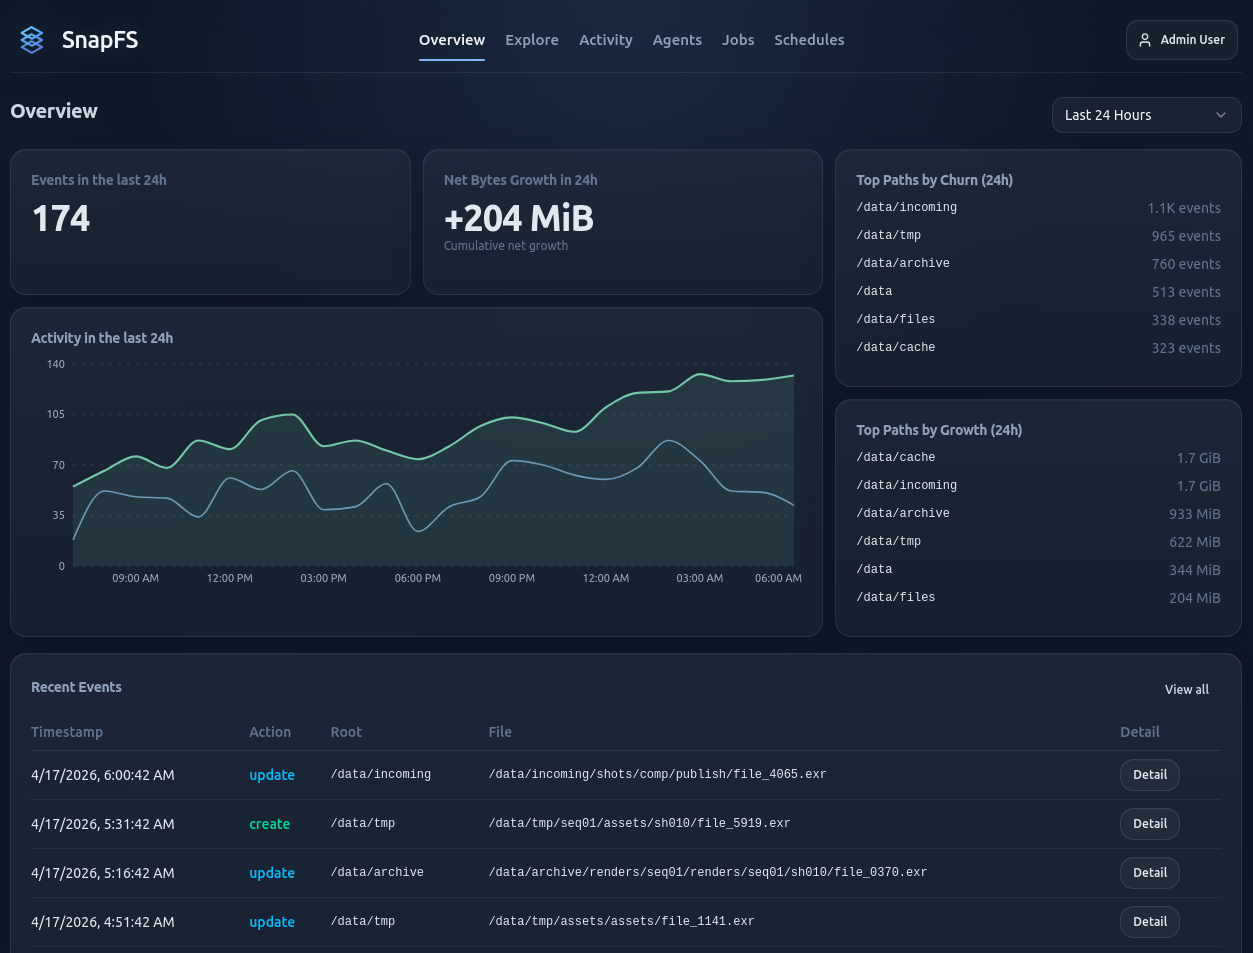
The Overview page gives a quick read on recent activity, growth, and top paths. Use it as a quick confidence check after your first scan.
Next Step
Continue with the Beta Quickstart.