Installing an Agent
A SnapFS scanner agent is responsible for walking a filesystem root and publishing scan events.
Platform Support
Today, the supported agent setup path is Linux and macOS.
Windows agent install guidance and install scripts are coming soon. If you are on Windows today, you can continue with one-off CLI scans, or you can wire up the agent manually if you are comfortable with a DIY setup.
Before You Install
Make sure you know:
- the gateway URL (e.g. https://example.snapfs.com)
- the root path you want this agent to scan (e.g.
/mnt/data) - API keys (see Managing Access)
Install The Package
The canonical install instructions live in the public snapfsio/snapfs repository:
https://github.com/snapfsio/snapfs
For Linux and macOS hosts, the package install is:
python3 -m pip install -U snapfs
If agent scan performance matters on that host, install the optional xxhash
support as well:
python3 -m pip install -U 'snapfs[xxhash]'
That enables the faster xxh64 hash algorithm. It is often a good fit for
performance-sensitive scanner hosts, especially when scanning many small files
or repeating warm-cache scans.
If you are installing the long-running agent service on Linux, follow the install.sh / systemd instructions in the main repo after installing the package:
git clone --depth 1 https://github.com/snapfsio/snapfs
cd snapfs
./systemd/install.sh
During systemd setup, if you installed xxhash, consider setting the agent hash
algorithm to xxh64. You can also re-run the installer later with the same
scanner name to update the hash algorithm or worker count on an existing agent.
On macOS, you can still run the agent directly after installing the package, but the packaged Linux systemd setup does not apply.
Agent Root Paths
Each scanner agent has a configured root path.
Examples:
/mnt/projects/data/io
Schedules and manual scans should stay within that root.
Confirm The Agent Is Connected
After installation, open the console and check the Agents page.
You should see:
- the agent id
- connection status
- the configured root path
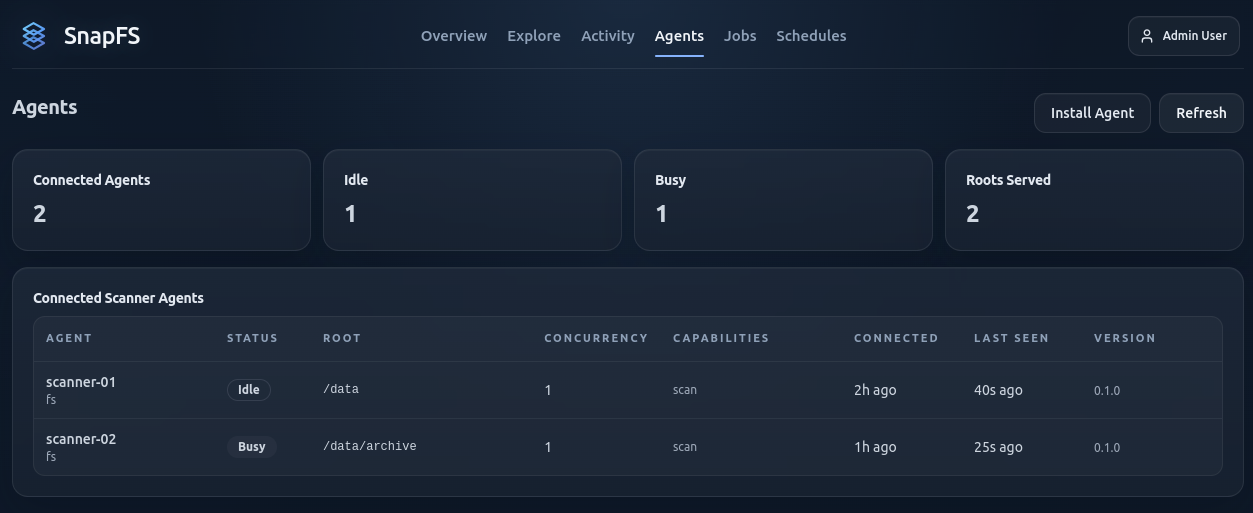
If the agent is connected and idle, you are ready to create a schedule.
Next Step
Continue with Creating Schedules.